
How to Draw a Floor Plan, Step by Step
How to draw a floor plan: measure the room, pick a scale (1/4 in = 1 ft), then draw walls, doors, windows, furniture, dimensions. By hand, software or AI.
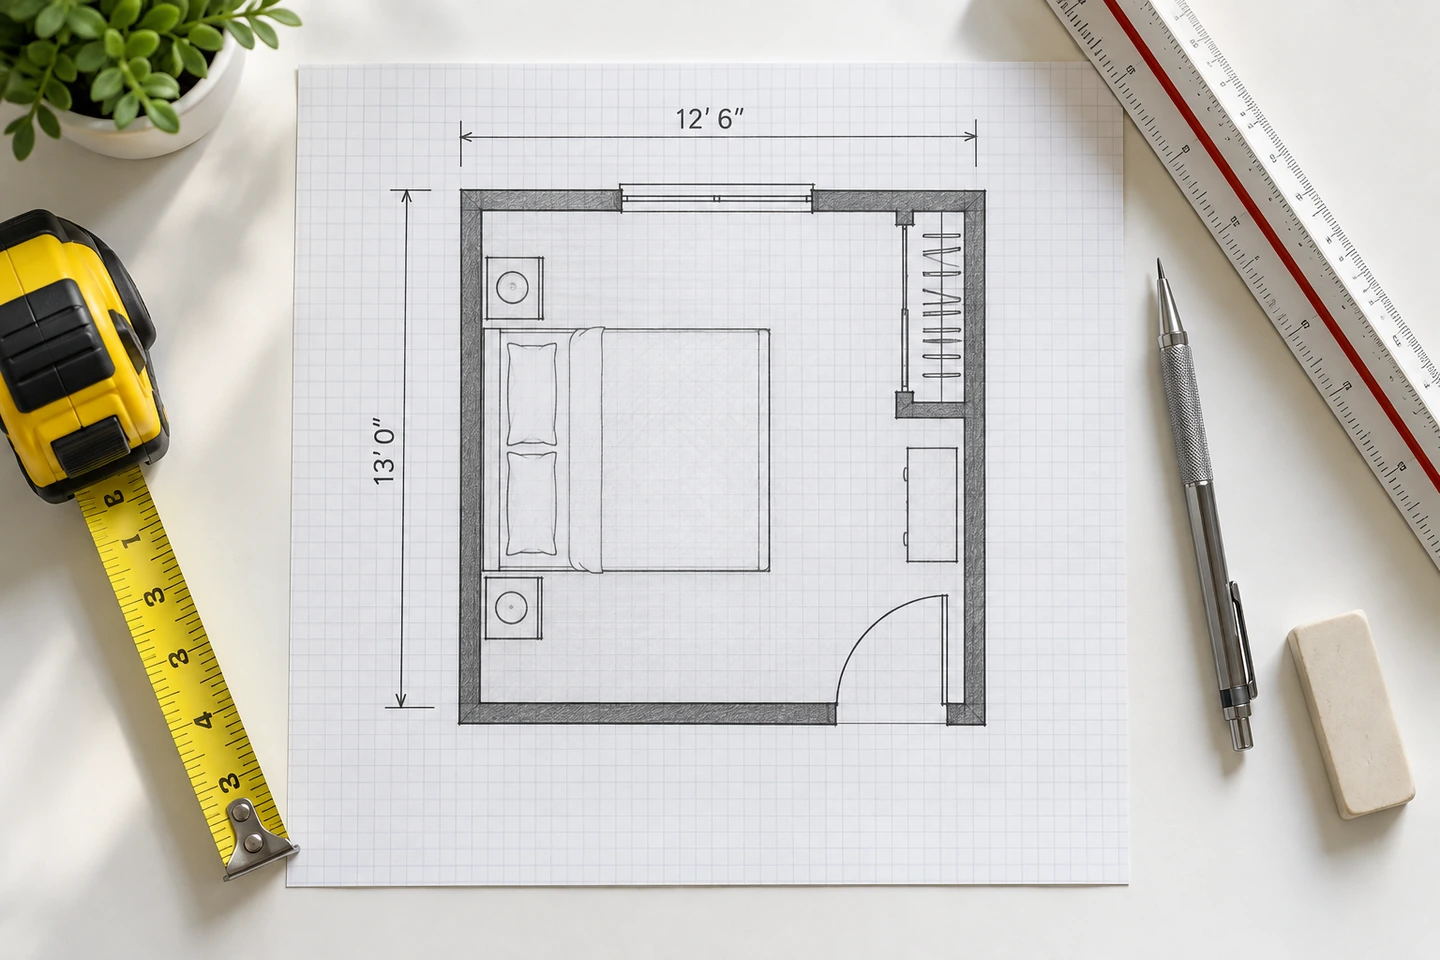
To draw a floor plan, measure every wall, door, window and fixed feature of the space, choose a scale (in the US, 1/4 inch = 1 foot is standard for rooms and houses), and then draw in a fixed order: walls, then doors and windows, then fixtures and furniture, and finally dimensions and labels. You can do it with graph paper and a pencil, in free floor plan software, or by describing the space to an AI floor plan maker. The same six steps work for a plan of a room or a whole house.
What You Need to Draw a Floor Plan
For a plan drawn by hand: a 25-foot tape measure (or a laser measurer, which makes long walls a one-person job), a clipboard for the field sketch, graph paper with four squares per inch, a 0.5 mm mechanical pencil, an eraser and a ruler or architect's scale. A circle template for door swings is a nice extra.
If you will draw on a computer or with AI, you still need the tape. Software draws straight lines, but it cannot know your bedroom is 12'-6" wide unless you tell it.
Step 1: Measure the Room
Start with a field sketch: a freehand outline of the room, not to scale, big enough to write on. Walk the room clockwise from the door and write each measurement on it as you go.
- Every wall, corner to corner. Keep the tape level a few feet off the floor, above the baseboard. Measure jogs and alcoves as separate segments.
- Doors. Opening width, distance from the nearest corner, hinge side and swing direction.
- Windows. Width, distance from the corner and sill height, which decides whether a desk or dresser fits below.
- Fixed features. Radiators, vents, outlets, switches, built-ins, columns, soffits and beams.
- Ceiling height. It limits bunk beds and tall wardrobes; see standard ceiling height if yours seems low.
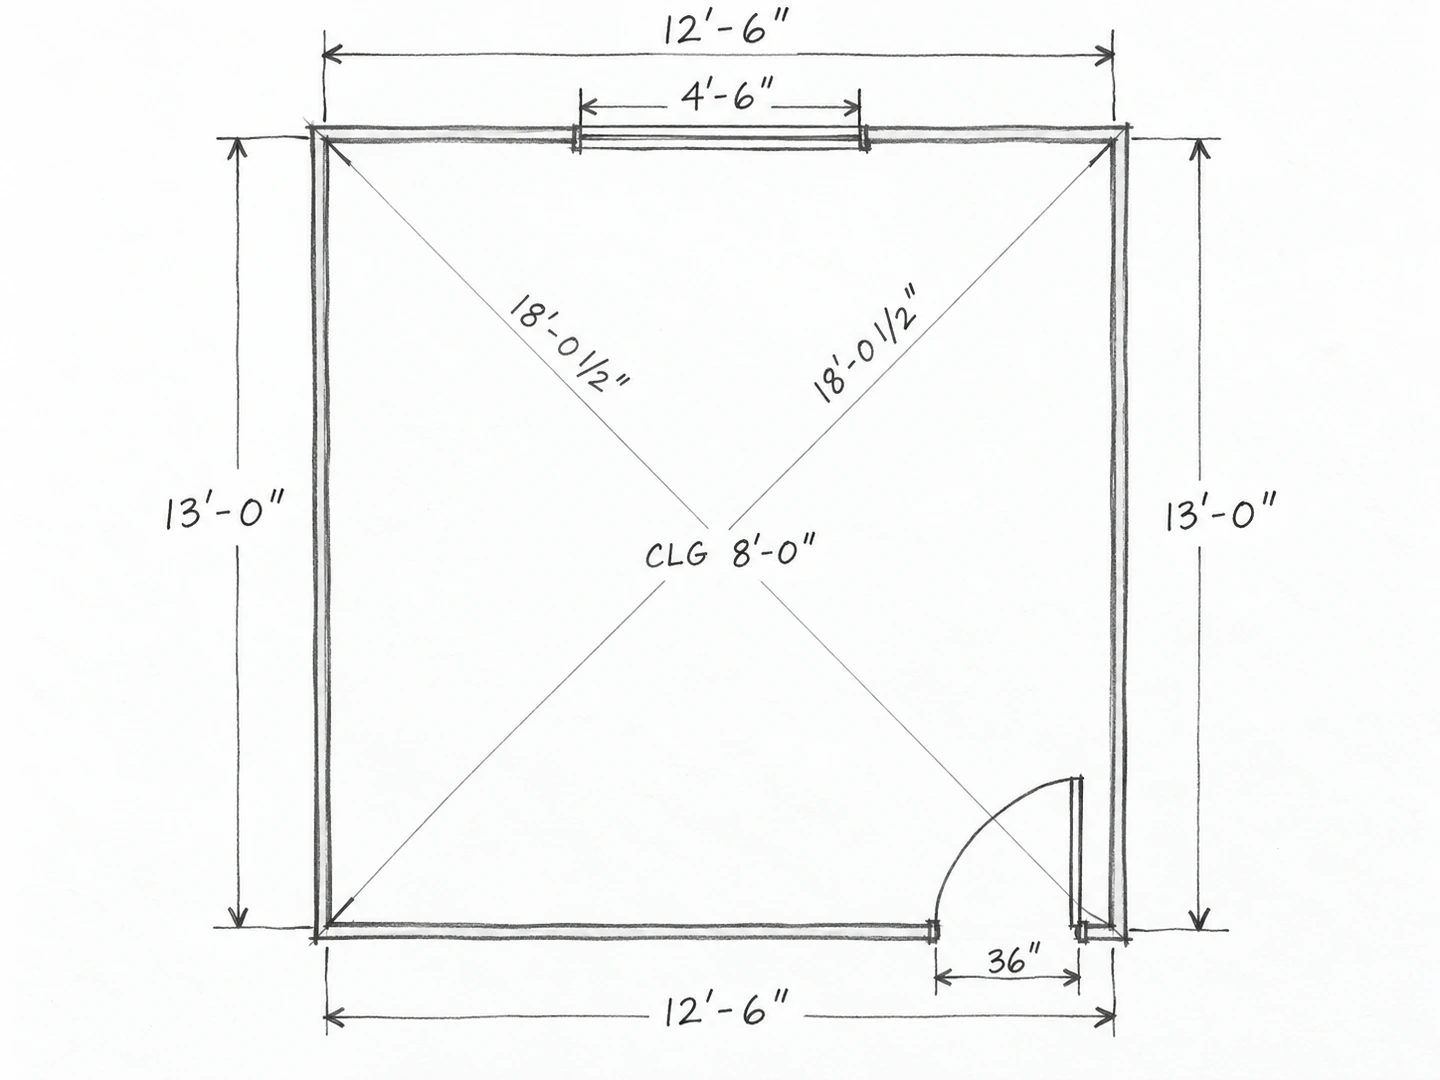
- Both diagonals. In a rectangular room they should match. If they differ by more than about half an inch, the room is out of square, so draw it from the diagonals rather than as a perfect rectangle.
Round to the nearest half inch, or quarter inch where cabinets will go, and write every number the same way, in feet and inches such as 12'-6".
The example in this guide is a bedroom 12'-6" wide and 13'-0" deep, with an 8-foot ceiling, a 4'-6" window centered on the back wall and a 36-inch door near the right-hand corner of the front wall. Both diagonals measure about 18'-0½", so the room is square.
Step 2: Choose a Scale
A floor plan is drawn to scale: every foot in the room becomes the same short distance on paper. The US standard for rooms and houses is 1/4" = 1'-0", a ratio of 1:48, and on graph paper with four squares per inch it means one square equals one foot.
Swipe left or right to see the full table →
| Scale | Ratio | A 12 ft (3.66 m) wall on paper | Typical use |
|---|---|---|---|
| 1/2 in = 1 ft | 1:24 | 6 in | One room in detail: a kitchen or bathroom |
| 1/4 in = 1 ft | 1:48 | 3 in | Rooms and house plans (the US default) |
| 1/8 in = 1 ft | 1:96 | 1½ in | Large homes and whole floors |
| 1:50 | 1:50 | About 73 mm | Rooms and houses in metric drawings |
| 1:100 | 1:100 | About 37 mm | Whole buildings in metric drawings |
At 1/4" scale, a letter-size sheet with half-inch margins holds about 30 by 40 feet. A whole house usually needs 1/8" scale on letter paper, or an 11 x 17 in sheet. For the example bedroom, the 12'-6" wall is 3⅛ inches on paper (12½ squares) and the 13'-0" wall is 3¼ inches.
Write the scale on the drawing, and add a scale bar (a line marked 0, 5 and 10 feet) if the plan may be printed at another size.
Step 3: Draw the Walls
Walls go in first, with thickness. A floor plan is a horizontal slice through the building, typically about 4 feet above the floor, so you are looking down at the cut tops of the walls. Draw each wall as two parallel lines:
- Interior partitions are about 4½ inches: a 2x4 stud (3½ inches actual) plus ½-inch drywall on each side.
- Exterior walls are usually 6 to 8 inches or more, depending on framing and siding; masonry is thicker.
Lay out the inside face of each wall at your measurements, since that is where you held the tape, then add the thickness outward. Make the walls the darkest lines on the sheet, filled solid or hatched if you like, and draw everything else lighter.
Step 4: Add Doors and Windows
Openings follow conventions anyone who reads plans will recognize:
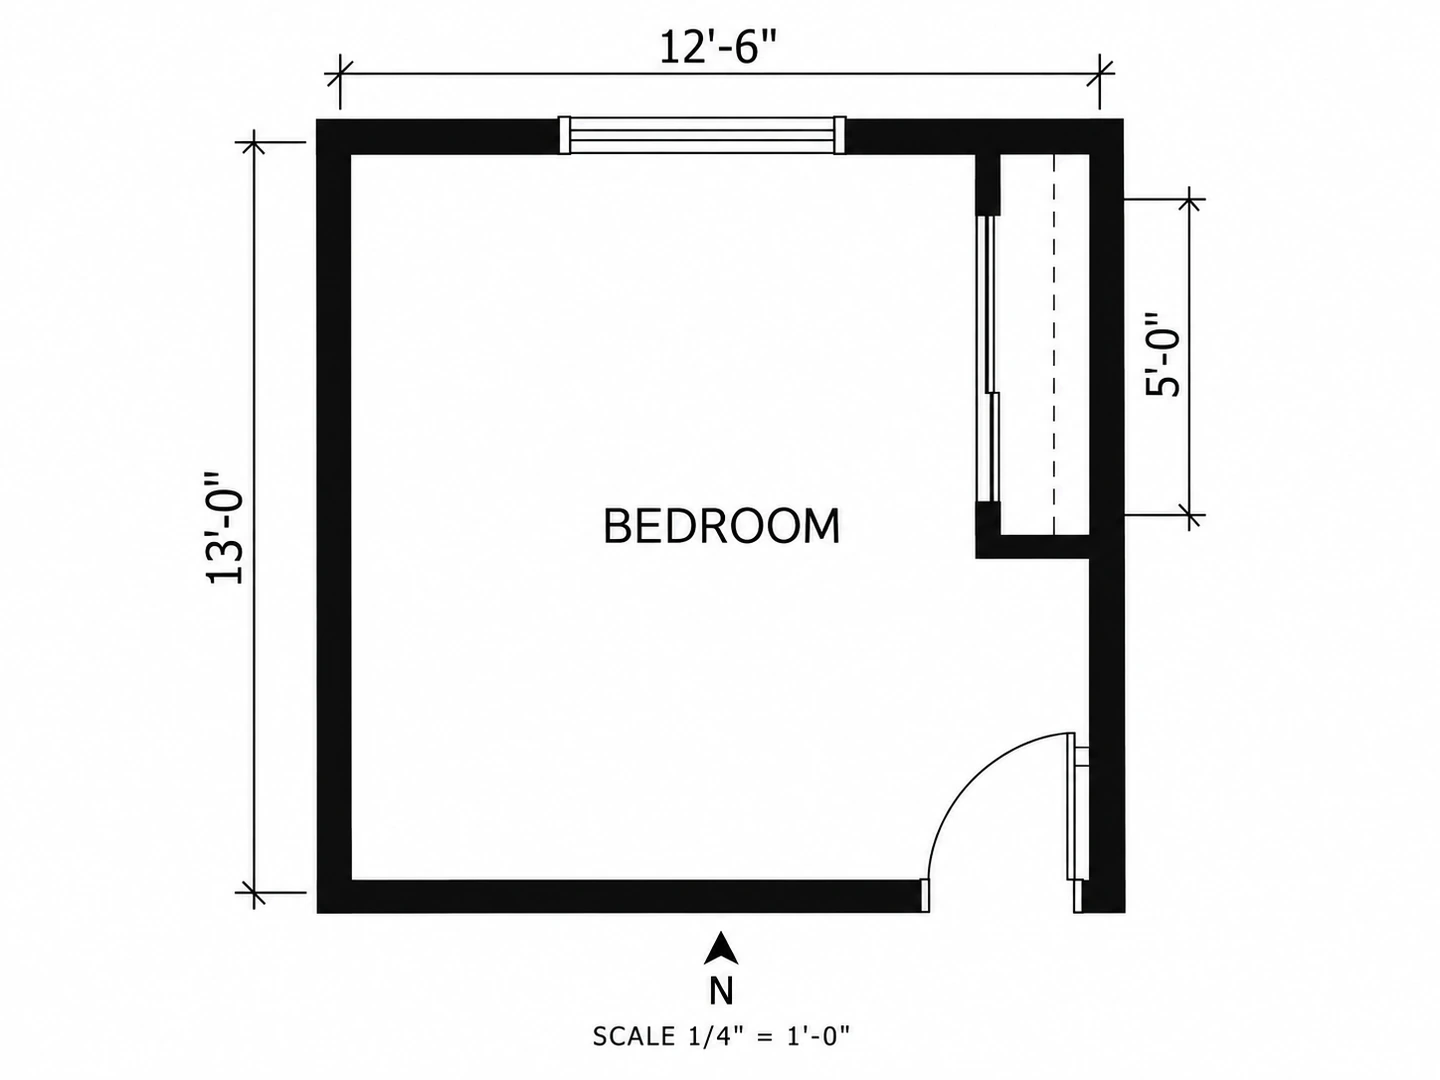
- Swinging door: a gap the width of the door, a straight line for the leaf drawn open at 90 degrees from the hinge side, and a thin quarter-circle arc for the swing. Interior doors are commonly 28 to 36 inches wide and entry doors 36 inches; see standard door sizes.
- Sliding and pocket doors: two offset lines for a slider; a pocket door slides into a dashed pocket inside the wall.
- Windows: the wall stays continuous, with two or three thin lines inside its thickness. Note the width and, where furniture goes below, the sill height.
The swing arc is floor you cannot furnish, and it shows at once whether a door will hit a bed, a vanity or another door. The floor plan symbols guide shows the standard drawing for every door, window, fixture and appliance.
Step 5: Add Fixtures and Furniture
Draw built-ins next: base cabinets (24 inches deep), tub, toilet, vanity, water heater, closet shelves. Then add furniture as simple outlines at real size. Most people underestimate how much floor a sofa or dresser takes, so measure the actual piece or start from these typical sizes:
Swipe left or right to see the full table →
| Item | Typical plan size | Space to leave around it |
|---|---|---|
| Queen / king bed | 60 x 80 in / 76 x 80 in | 24 to 36 in on each side you walk around |
| Nightstand | 20 to 24 in wide | Clear of the door swing |
| Dresser | About 60 x 20 in | About 36 in in front to open drawers |
| Three-seat sofa | 72 to 90 x 32 to 40 in | 16 to 18 in to the coffee table |
| Dining table for six | 36 to 40 x 72 in | About 36 in from table edge to wall |
| Desk | 48 to 60 x 24 to 30 in | About 36 in behind for the chair |
| Kitchen base cabinets | 24 in deep | 42 in aisle for one cook, 48 in for two (NKBA) |
Keep main walkways about 36 inches wide, the minimum residential codes such as the IRC set for hallways. For which beds suit which rooms, see average bedroom size.
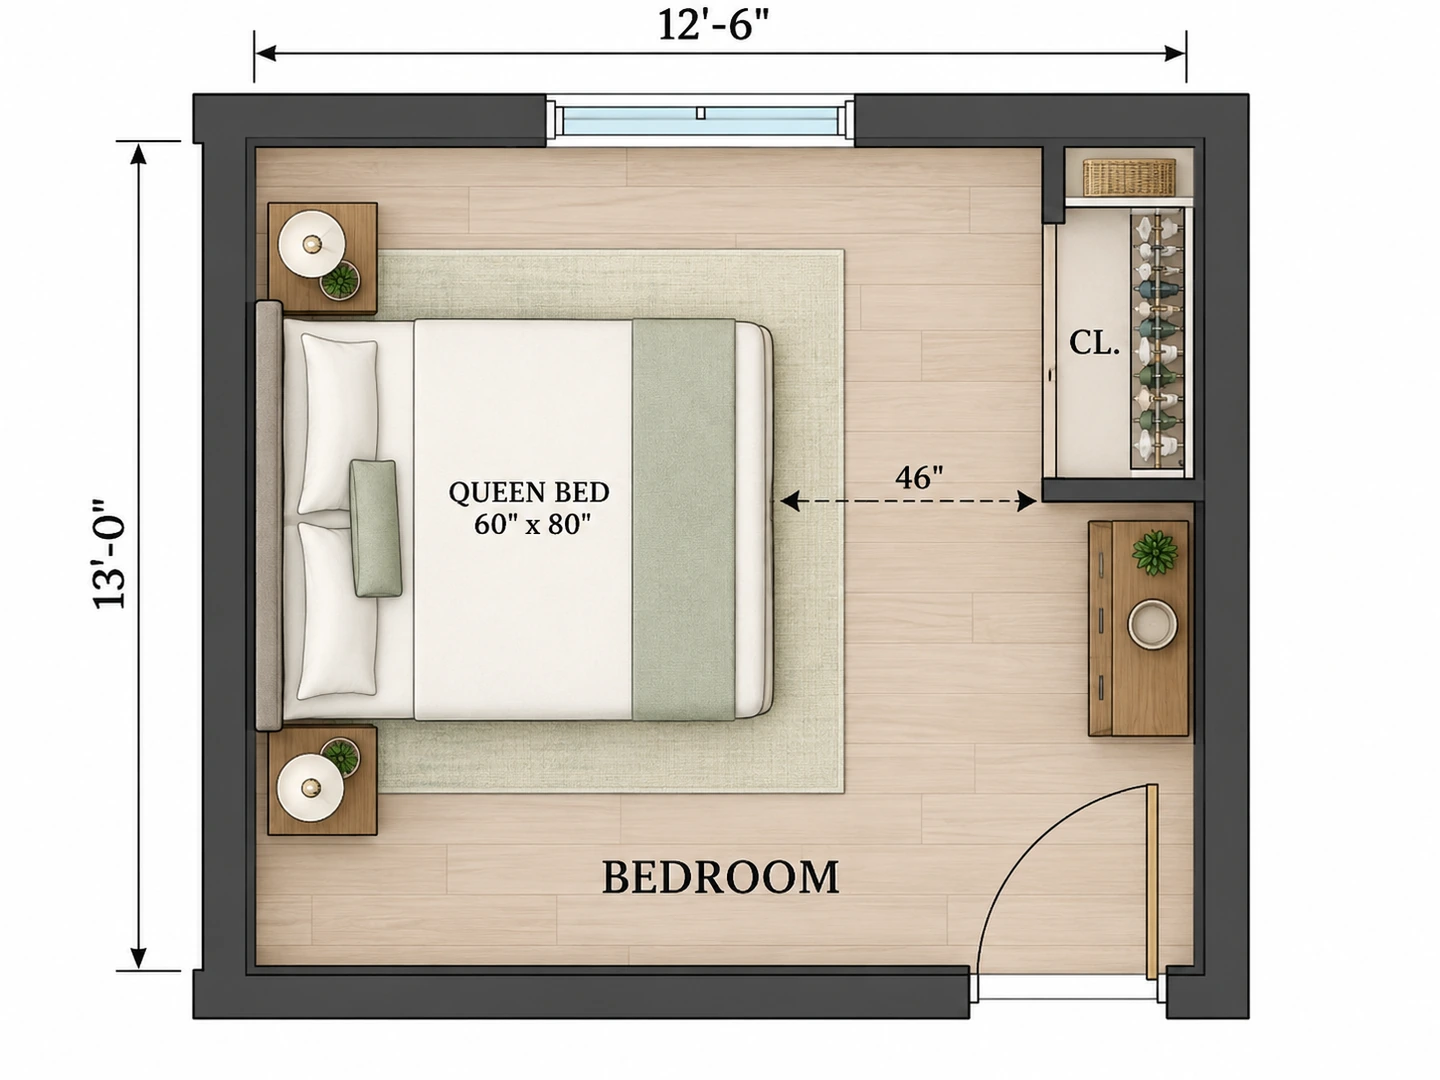
In the example, the queen bed goes against the left wall with a 24-inch nightstand on each side. That leaves about 46 inches between the foot of the bed and a 5-foot reach-in closet on the right wall, and a 36-inch chest fits beside the closet, clear of the door swing.
Step 6: Add Dimensions and Labels
Dimensions make the drawing usable by someone else. Draw dimension strings: a thin line parallel to the wall, short extension lines to the points measured, and a tick mark where they meet, with the measurement written above.
- Keep dimensions outside the plan where you can, clear of furniture.
- Work outward in up to three strings: openings (in wood-frame houses, usually to the center of each door and window), then wall segments, then the overall length.
- Check that each string adds up to the overall dimension. If it does not, one number is wrong.
Then label each room in capitals with its size underneath, such as BEDROOM over 12'-6" x 13'-0". Builders shorten labels to codes like BR, WIC and W/D; floor plan abbreviations decodes them. Add a north arrow, the scale, a title and the date.
For area, multiply length by width: the example bedroom is 12.5 x 13 = 162.5 square feet. Split L-shaped rooms into rectangles, or use the square footage calculator.
How to Draw a House Floor Plan
A house plan is the room method repeated, plus one step that ties the rooms together:
- Measure the exterior first, corner to corner, including every jog, and draw that outline. Every room has to fit inside it.
- Measure each room inside as in Step 1, and check wall thickness at a door opening.
- Reconcile. The outside length equals the rooms plus the walls between them. Rooms of 14'-0" and 11'-6" with 6½-inch exterior walls and a 4½-inch partition give 26'-11½" outside. If you are off by more than an inch or two, re-measure.
- Draw stairs with treads, an arrow and UP or DN, and count the risers; stair dimensions covers rise and run.
- Draw one plan per floor, aligned on stairs, plumbing walls and the exterior shell.
Designing a new house instead? Start from a room list rather than a tape measure. How to create a blueprint covers that process, and the house floor plan maker turns a room list into a first layout.
By Hand, Software or AI: Which to Use
All three can produce a good plan; they differ in speed, precision and how easy the plan is to change.
Swipe left or right to see the full table →
| Method | Cost | Best for | Limits |
|---|---|---|---|
| Graph paper and pencil | Almost nothing | Field sketches, one room, trying ideas | Slow to revise |
| Floor plan software | Free to paid | Exact layouts and clean printouts | Hours to learn; CAD longer |
| AI floor plan generator | Free credits on signup, then 10 credits per plan | Fast concept layouts from a description or sketch | An image with approximate dimensions |
Drawing a floor plan by hand is the fastest way to measure and try ideas, but every change means erasing. Free software ranges from browser planners with drag-and-drop furniture to open-source programs such as Sweet Home 3D and LibreCAD; it gives exact dimensions in exchange for learning time.
An AI generator skips the drawing. Describe the space or upload a photo of your sketch, and our floor plan maker draws a finished plan in seconds in one of seven styles, from Technical 2D and Furnished 2D to 3D Isometric, Blueprint and Hand-Drawn Sketch. It is a quick way to compare layouts or show an idea. To change one area of a result, the floor plan editor lets you mark it and describe the change. The more measurements you give, the closer the result:
Bedroom, 12'-6" x 13'-0" (about 162 sq ft). 36-inch door near the right-hand corner of the front wall, swinging in. 4'-6" window centered on the back wall. Queen bed against the left wall with a 24-inch nightstand each side. 5-ft reach-in closet and a 36-inch chest on the right wall. About 36 inches clear at the foot of the bed.
Chatbots such as ChatGPT help one step earlier: ask for furniture sizes, clearances or three layout options for your room, then draw or generate the one you like. They are not dependable at drawing dimensioned plans, so check every number.
Common Floor Plan Drawing Mistakes
- Ignoring wall thickness. Single-line walls look fine until the house does not add up.
- Forgetting door swings. A bed drawn inside a door's arc means a door that will not open.
- Drawing furniture from memory. A sofa drawn at 6 feet that is really 7½ feet changes the whole room.
- Mixing units or scales. Inches on one wall and decimal feet on the next cause most surviving errors.
- Skipping the diagonals. Older houses are often out of square, and it shows up later as a cabinet that does not fit.
- No scale, date or north arrow. Without them, nobody can use the drawing a year later, including you.
Floor Plan Drawing Checklist
- Every wall at the right length and thickness, with jogs and alcoves.
- Every door with its width and swing; every window with its width.
- Fixed features: radiators, vents, built-ins, columns, stairs with UP or DN.
- Furniture at real size, with walkways of about 36 inches.
- Dimension strings that add up on every side.
- Room names and sizes in a consistent style, plus the ceiling height.
- A north arrow, the scale or a scale bar, a title and the date.
Frequently asked questions
Measure the space and note the numbers on a rough sketch, choose a scale such as 1/4 inch = 1 foot, draw the walls with their thickness, add doors and windows, then fixtures and furniture, and finish with dimensions, room labels, a north arrow and the scale.
Use paper with four squares per inch and let one square equal one foot, the 1/4 inch = 1 foot scale. A 12-foot wall is 12 squares, and a quarter square is 3 inches. Draw lightly, then darken the lines once everything fits.
Measure each wall, door, window and fixed feature, plus the ceiling height and both diagonals. Draw the outline to scale, add the openings and door swings, place furniture at real size and dimension the walls. One room fits on letter paper at 1/4 inch = 1 foot.
Graph paper costs almost nothing, and free programs such as LibreCAD and Sweet Home 3D handle exact drawings. Our floor plan maker gives new accounts free credits, and each AI-generated plan uses 10 credits.
In the US, 1/4 inch = 1 foot (1:48) is standard for rooms and houses, 1/8 inch = 1 foot for large homes, and 1/2 inch = 1 foot for detailed rooms such as kitchens. Metric drawings typically use 1:50 or 1:100.
It helps with planning: ask for furniture sizes, clearances or layout options for your room dimensions, then draw the one you like or describe it to a floor plan generator. Check every number against your own measurements.
No. An AI floor plan is an image for planning and presenting ideas, with approximate dimensions. Construction and permit drawings need exact measurements and, depending on where you live, a licensed professional.
Try these tools
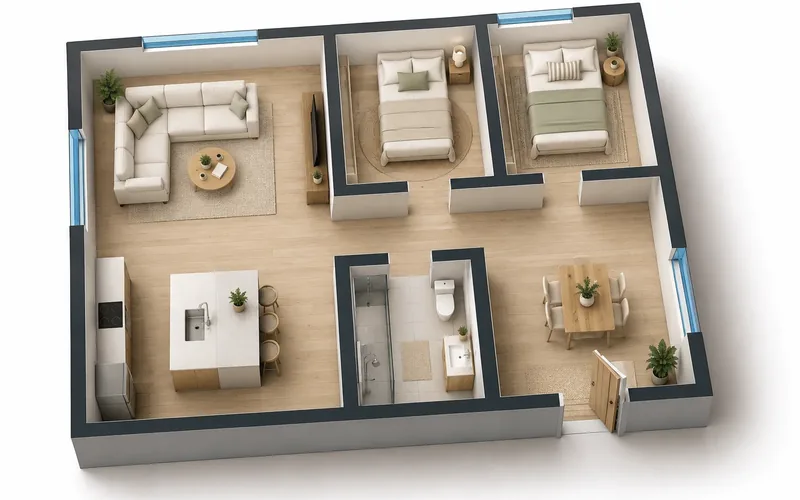 Free Floor Plan MakerGenerate 2D, 2.5D and 3D floor plans for any space with AI.
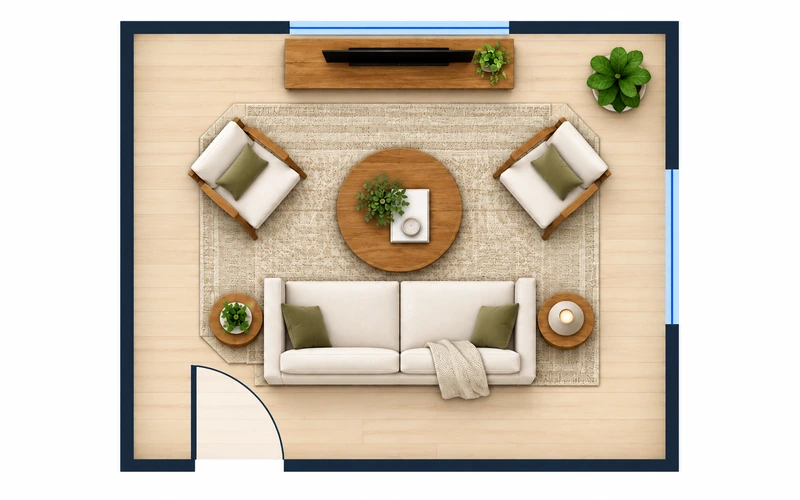 Room Layout PlannerPlan furniture placement for a bedroom, living room or office.
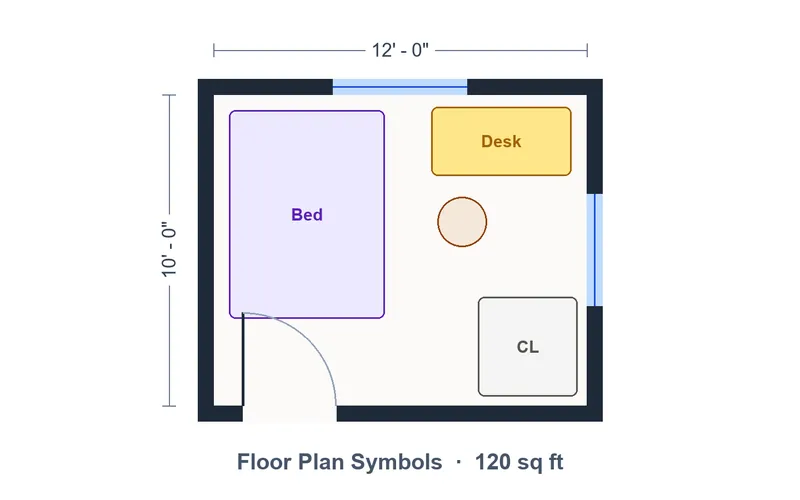 Floor Plan SymbolsEvery door, window, fixture and furniture symbol, explained.
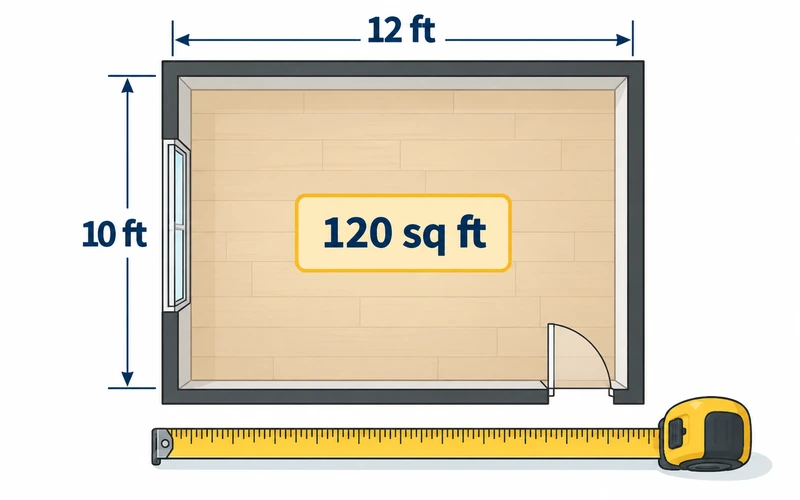 Square Footage CalculatorWork out the square feet of any room, including L-shapes.
Sources
- International Residential Code (IRC) — International Code Council
- Kitchen and Bath Planning Guidelines — National Kitchen & Bath Association (NKBA)